.NET Core gives you a fast and modular platform for creating applications that run on Windows, Linux, and macOS. Use Visual Studio Code with the C# extension to get a powerful editing experience with full support for C# IntelliSense (smart code completion) and debugging.
Hello, Meadow! Create, deploy. You'll need Visual Studio 2019 for either Windows or Mac; available here. Understanding the Hello, World App. Wine for mac installation guide. In this tutorial, you configure Visual Studio Code to use the Microsoft Visual C compiler and debugger on Windows. After configuring VS Code, you will compile and debug a simple Hello World program in.
Prerequisites
- Install Visual Studio Code.
- Install the .NET Core SDK.
- Install the C# extension for Visual Studio Code. For more information about how to install extensions on Visual Studio Code, see VS Code Extension Marketplace.
Hello World
Get started with a simple 'Hello World' program on .NET Core:
Open a project:
- Open Visual Studio Code.
- Select File > Open Folder from the main menu.
- Create a folder named HelloWorld, and click Select Folder. The folder name becomes the project name and the namespace name by default. You'll add code later in the tutorial that assumes the project namespace is
HelloWorld.
Initialize a C# project:
Open the Terminal from Visual Studio Code by selecting View > Terminal from the main menu.
In the terminal window, enter
dotnet new console.This command creates a Program.cs file in your folder with a simple 'Hello World' program already written, along with a C# project file named HelloWorld.csproj.
Run the 'Hello World' program:
In the terminal window, enter
dotnet run.
Debug
Open Program.cs by clicking on it. The first time you open a C# file in Visual Studio Code, OmniSharp loads in the editor.
Visual Studio Code prompts you to add the missing assets to build and debug your app. Select Yes.
To open the Debug view, click on the Debugging icon on the left side menu.
Locate the green arrow at the top of the pane. Make sure the drop-down next to it has .NET Core Launch (console) selected.
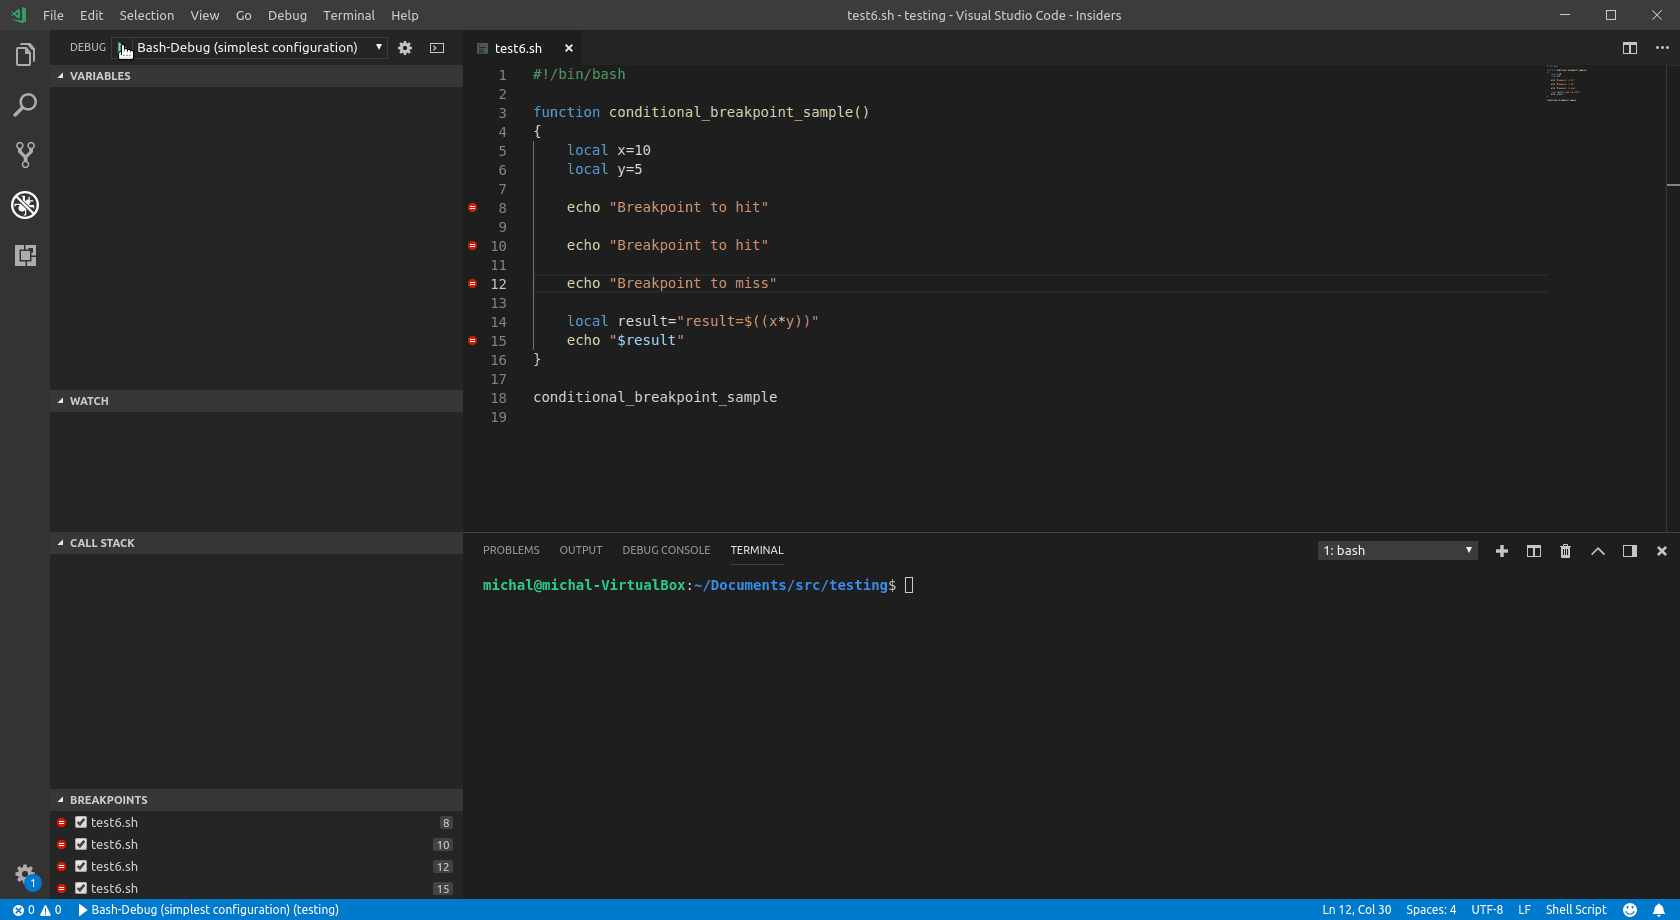
Add a breakpoint to your project by clicking on the editor margin, which is the space on the left of the line numbers in the editor, next to line 9, or move the text cursor onto line 9 in the editor and press F9.
To start debugging, press F5 or select the green arrow. The debugger stops execution of your program when it reaches the breakpoint you set in the previous step.
- While debugging, you can view your local variables in the top-left pane or use the debug console.
Select the blue arrow at the top to continue debugging, or select the red square at the top to stop.
Tip
For more information and troubleshooting tips on .NET Core debugging with OmniSharp in Visual Studio Code, see Instructions for setting up the .NET Core debugger.
Add a class
To add a new class, right-click in the VSCode Explorer below Program.cs and select New File. This adds a new file to the folder you have open in VSCode.
Name your file MyClass.cs. You must save it with a
.csextension at the end for it to be recognized as a csharp file.Add the following code to create your first class.
Call your new class from your
Mainmethod by replacing the code in Program.cs with the following code:Save your changes. Mac os usb drive not recognized.
Run the program again.
The new message appears with the appended string.
FAQ

I'm missing required assets to build and debug C# in Visual Studio Code. My debugger says 'No Configuration.'
The Visual Studio Code C# extension can generate assets to build and debug for you. Visual Studio Code prompts you to generate these assets when you first open a C# project. If you didn't generate assets then, you can still run this command by opening the Command Palette (View > Command Palette) and typing '>.NET: Generate Assets for Build and Debug'. Selecting this generates the .vscode, launch.json, and tasks.json configuration files that you need.